Railway: Rail Transport Guide
Trains are the point where your factory stops being a cluster of nearby machines and starts becoming a real logistics network. If your outposts are too far apart for belts, or you are tired of hand-running ore, plates, and supplies across the map, rail transport is the clean next step. The key is to unlock it in the right order, build the first line with the right parts, and use signals and stops so the whole thing actually automates instead of locking up.
Unlock the rail tech before you build your first line
Do not start laying out a train network until you have the tech that lets you finish the system. The important order is simple: research 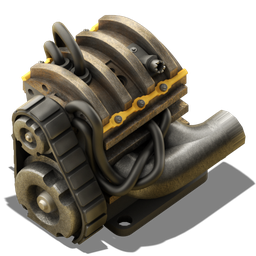
![]()


That order matters because 
The basic rail kit you will use over and over is 


Craft the core rail pieces you need for a working starter line
Before you connect outposts, stockpile the parts that actually make the system function. Rails are cheap and easy to mass-produce, but stops and locomotives are more expensive, so prepare those first if you want the line to start running right away.
Here is a quick reference for the core recipes and what they do:
| Item | Inputs → Outputs | Machine | Time |
|---|---|---|---|
|
   |
 |
0.5s |
|
  |
|
0.5s |
|
|
|
0.5s |
|
|
|
0.5s |
|
 |
|
4s |
|
 |
|
1s |
 |
 |
|
0.5s |
 |
|
|
0.5s |
|
|
|
0.5s |
A few practical points matter more than the recipe list itself.
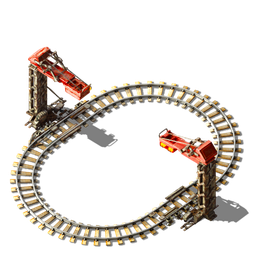
Lay the track and separate it into blocks with the right signals
Your rail network only works smoothly when you divide it into blocks. That is the job of
Use
The practical rule is straightforward: place Rail signal to make blocks, and place Rail chain signal before junctions and any section where entering too early would cause a deadlock. If a train is about to cross a shared crossing or merge, you want it to wait outside until the route ahead is clear. That one habit prevents most early rail jams.
Place train stops and build the first automated route
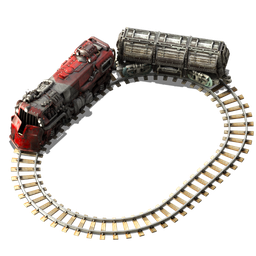
Start with the simplest possible route: one locomotive, at least one cargo wagon, and a
A good first setup is point-to-point: mine or smelt on one end, processing or storage on the other. Use the locomotive to pull the wagon, set the schedule, and confirm that the train can reach both stops without getting blocked. Once that works, expand to more wagons only when the loading and unloading stations can keep up.
Remember that
Scale your network with power coverage and throughput in mind
As soon as the line gets longer than a test route, plan for power along the route. Use
Cargo wagons become even more effective when you think about throughput instead of just storage. If you can preprocess items near the source, do it. Transporting a denser product can improve what your train carries per trip.
Use that idea on every rail line you build. If the product can reasonably be processed near the mine or outpost, ship the more compact item. If not, use the train to move raw materials in bulk and let the central factory handle the rest. Cargo wagons are strongest when you use them for high-volume routes or as fast-loading buffers, not as random overflow storage.
Build the first line in the right order
If you want the fastest path to a working rail network, follow this sequence:
- Research
- Research
- Research
- Craft
- Lay a simple point-to-point line.
- Add signals to create blocks.
- Place stops and set the schedule.
- Extend power coverage with
That order keeps you from wasting time on track you cannot yet automate. Once your first train is running, the rest of the rail network becomes a matter of repeating the same reliable pattern: build, signal, stop, schedule, and scale.
Pages featured in this guide
- technologyEngine
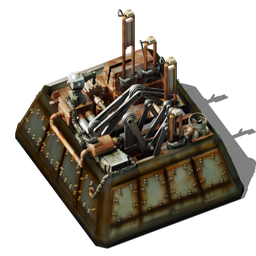
- technologyRailway
- technologyAutomated rail transportation
- itemAutomation science pack
- itemLogistic science pack
- technologyAutomation
- buildingLocomotive
- itemRail
- buildingRail signal
- buildingRail chain signal
- buildingTrain stop
- buildingCargo wagon
- itemStone
- itemIron stick
- itemSteel plate
- buildingAssembling machine 1