Cars, Flamethrowers, Engines Guide
If you’re ready to move faster than foot travel and bring area-damage firepower to your defenses, cars and flamethrowers are the next practical step. The catch is that both depend on a small production chain first, so the smart move is to unlock them in the right order, build a steady engine supply, and only then scale into combat and turret defenses. This guide shows you what to research, what to craft, and how to use each tool effectively in your own game.
Unlock the car and flamethrower chain in the right order
Start with 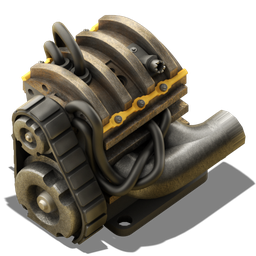


Only after that should you push toward the oil side. 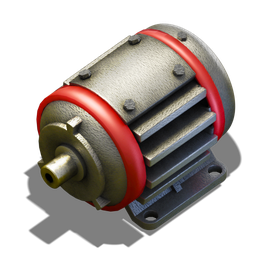


Do not force the combat side before your steel, oil products, and science packs are stable. The car is useful as soon as you can build it, but the flamethrower and flamethrower turret both reward a reliable supply chain more than a rushed unlock. If your factory is still starved for steel or crude oil processing, spend that effort there first.
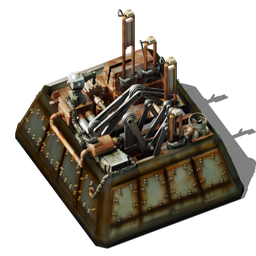
Set up the engine production that everything else depends on
Everything in this chain rests on 


Here is the quickest reference for the whole subsystem:
| Recipe / item | Inputs → Outputs | Machine | Time |
|---|---|---|---|
|
 |
|
10s |
 |
 |
|
2s |
 |
 |
|
10s |
|
|
|
10s |
 |
 |
 |
6s |
 |
|
|
20s |
Keep an eye on pipes and iron gear wheels, because those are the easiest bottlenecks to create accidentally. A clean rule of thumb is to build pipe and gear production first, then let them feed engine unit assemblers continuously. A useful optimized setup is 2 pipe factories + 1
Once that line is stable,
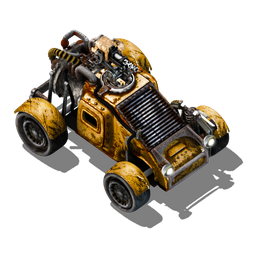
Craft the car and fuel it for the travel you actually want
Build the
Use the car for fast personal transportation across the map. It is a player-usable drivable vehicle, but it is not a modular combat platform: it cannot be remote-controlled, and it does not provide an equipment grid. In practice, that means you should use it to move yourself quickly, not to try to turn it into a tank substitute.
Fuel choice matters a lot. The car is fueled by burnable fuel items, and stronger fuels raise both acceleration and top speed. 


Drive it like a point-to-point transport tool. Use stronger fuel for longer road runs, and upgrade the ground underneath you before you expect top performance. If you are still driving across grass and dirt, the car will feel much slower than it should.
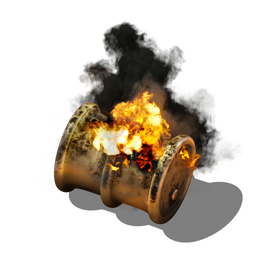
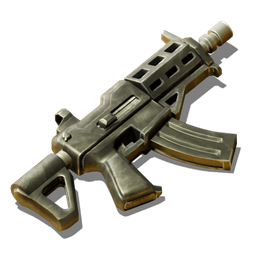
Use the flamethrower itself as a close-range solution against swarms and nests
Once
Use it as a crowd-control weapon, not a precision tool. Sweep it across a group of enemies, a nest, or trees and let the burn finish the job. A single attack is usually enough to destroy a biter nest, which makes it excellent for quick clearing when you do not want to stand around trading shots. Keep crude oil flowing into ammo production early, because a flamethrower that runs dry is just dead weight.
The important habit is to spray the same area long enough for the fire to build. The flame creates initial splash damage and damage over time, and repeated spraying makes the burning area intensify. If you are clearing an entrenched position, do not flick the stream around randomly; commit to the spot and let the fire stack up.
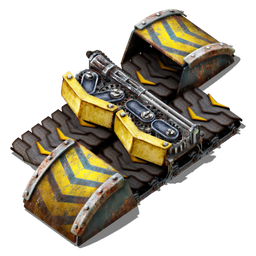
Turn flamethrower turrets into a scalable defense instead of a one-off trap
For base defense, build
Place turrets where enemies must pass repeatedly, especially chokepoints. Let them hold a lane, a corner, or the entrance to a nest approach. Do not waste a dense cluster of turrets all aiming at the exact same tile and expect faster burn buildup; multiple turrets firing on the same spot do not speed up intensity growth because the increase is limited by cooldown. Spread them so they cover the route and keep enemies in the fire longer.
Turret damage scales multiplicatively with oil-supplied ammo bonuses plus flamethrower and turret research bonuses, so invest in both upgrade lines. That scaling is what keeps the turret relevant as your enemies get tougher. Biters and spitters are especially vulnerable because they lack fire resistance and ignite easily. Spawners and larger worms have 3 flat fire resistance, so the direct splash is less impressive, but intensified ground fire still does the job. Tanks, trains, and spidertrons have 15 flat fire resistance, so do not expect early damage to melt them instantly; stronger upgrades make the intensified patches much more dangerous.
Also remember the limits: flamethrower turrets cannot be used on space platforms, asteroids have 100% fire resistance, pentapods on 
The best pattern is simple: unlock Engine first, then Automobilism, then build a real engine line, then add the car for travel, and finally move into flamethrower weapons and turrets once your oil system can support them. If you follow that order, you get mobility early and a powerful, scalable defensive tool soon after.
Pages featured in this guide
- technologyEngine
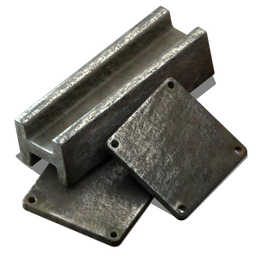
- technologySteel processing
- itemLogistic science pack
- itemAutomation science pack
- itemEngine unit
- technologyAutomobilism
- technologyLogistics
- technologyAutomation
- technologyElectric engine
- fluidLubricant
- itemChemical science pack
- itemFlamethrower
- technologyFlammables
- itemMilitary science pack
- technologyMilitary
- buildingAssembling machine 1