If you want to push into tougher biter territory, hold a line longer, or stop hand-crafting combat supplies every time you leave base, this is the set of builds that gets you there. The trick is to treat combat armor, combat robots, and ammo production as one supply chain: unlock the right tech in order, automate the bullets first, then scale capsule production so your fights are backed by factories instead of panic crafting. This guide walks you through what to unlock first, how to set up ammo and capsule production, and how to use combat robots and armor upgrades together so your military supply chain actually supports your fights.
Unlock the combat path in the right order
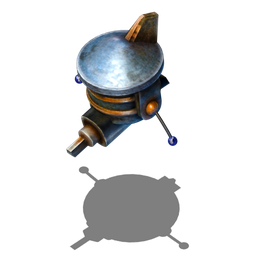
Start with the Defender research as soon as you can pay for it with Military science pack. That is your first real combat-robot step, and it should be the point where you stop thinking of capsules as a novelty and start treating them as your portable frontline. The Defender capsule recipe is simple enough to fit into a basic assembler line: Piercing rounds magazine×3, Electronic circuit×3, and Iron gear wheel×3 into Defender capsule×1, with an 8 second craft time.
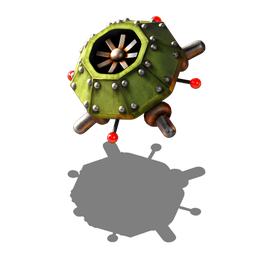
From there, move into Distractor after you have Defender, military 3, and Laser. The recipe pushes you to a more developed factory because it depends on Defender capsule×4 and Advanced circuit×3 for each Distractor capsule, with a 15 second craft time. That recipe is the signal that you should already be automating basic combat supply before you expect to mass-produce decoys.
After that, aim for Destroyer, but do not rush it before you have the factory support for it. Destroyer requires military 4, Distractor, and Speed module. The capsule recipe is Distractor capsule×4 plus Speed module×1 for Destroyer capsule×1, and it also takes 15 seconds. If you are trying to get to Power armor MK2, plan the same way: it needs Power armor, military 4, speed module 2, and efficiency module 2. That means your midgame priorities overlap nicely, so you can unlock armor and offensive tools without rebuilding your tech tree later.
Here is the core recipe and unlock reference you should build around:
Set up a steady ammo line before you chase robot fleets
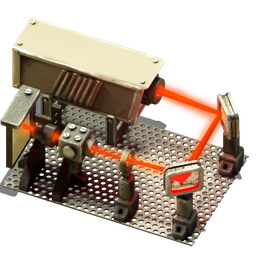
Do not build combat robots on a shaky ammo base. Start by automating Firearm magazine first: Iron plate×4 into Firearm magazine×1, with a 1 second craft time. It is the most basic ammunition for starting weapons, and it is cheap, but it has limited damage, so use it as the entry point rather than your long-term combat plan.
Then upgrade that line into Piercing rounds magazine production. The recipe is Firearm magazine×2, Steel plate×1, and Copper plate×2 to make Piercing rounds magazine×2 in 6 seconds. That extra resource cost is worth it because Piercing rounds magazine is the more advanced ammunition for gun weapons and has 60% higher damage. That is the ammo you want feeding your real combat loadout, your capsule prerequisites, and your sustained base defense.
The important move is to automate both tiers before you go hard on robot research. If you are still hand-feeding bullets into weapons, your combat upgrades will stall the moment you leave base. Build the ammo line first, and let it run constantly so your capsule production never pauses for lack of magazines.
Build capsule production so you can actually field combat robots
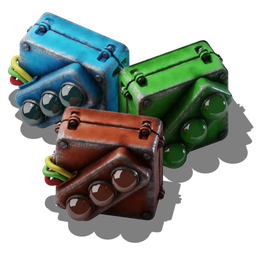
Once your ammo is stable, turn that output into capsules. Defender capsule production should be your first dedicated combat line because it is the base ingredient for the later robot chain. Feed Piercing rounds magazine, Electronic circuit, and Iron gear wheel into an assembling machine 1, and keep the line close to your ammo output so you are not buffering every intermediate by hand.
When Defender capsules are steady, extend the chain to Distractor capsule production. That recipe consumes Defender capsule×4 and Advanced circuit×3, so it is a clear sign that you need a proper circuit and military supply line before you scale up. After that, push into Destroyer capsule production by combining Distractor capsule×4 with Speed module×1. If you are going to mass-produce the later capsules, it is worth moving your setup onto Assembling machine 3, since it is itself deployed from your inventory and is crafted from Speed module×4 and Assembling machine 2×2. Use it when you need higher throughput for the more expensive recipes.
Use Defender and Distractor capsules together instead of fighting head-on
Do not think of combat capsules as simple damage bursts. Use them as positioning tools. Defender capsule spawns small autonomous Defender robots that follow the player and attack nearby enemies, but they follow with noticeable lag and movement inertia. That lag is useful: accelerate toward a target, turn, or ride a vehicle, and the swarm swings outward so the robots strike while you stay farther from enemy fire. Use that to hit a base from a safer angle instead of walking straight into turrets.
Distractor capsule works differently. It spawns a stationary Distractor robot that acts as a temporary combat decoy and attracts enemy attention. Throw it into the center of an enemy worm nest or biter swarm so worms and nearby enemies lock onto the decoy instead of you. This is especially useful when you want to blunt worm fire during a base assault or defend a weak outpost without personally standing in the kill zone. Since Distractors do not move, place them where they will pull the most attention, and time the throw before enemies fully commit to attacking you.
Watch the follower cap and scale your loadout for bigger assaults
Before you load up for battle, check the follower robot icon to the right of the quick-bar. The game shows how many follower robots are active and the researched maximum allowed, and hovering it tells you the breakdown by type. This matters because the total number of active follower robots, including Defender and Destroyer, is limited by follower robot count research. Spawning more capsules will not help once you are at that cap, so do not waste materials overproducing them too early.
That is where Distractor shines again: it does not count toward the follower robot count limit because it is immobile. Use it when you need extra pressure on an enemy base without consuming follower capacity. For Destroyer and Defender swarms, lean on vehicle speed or exoskeleton boosts to make the swing technique more effective. Faster movement gives your robots more room to arc forward, which means more contact with enemy structures and less time spent inside hostile firing range.
The cleanest midgame combat plan is simple: automate Firearm magazine, upgrade to Piercing rounds magazine, research Defender, build a steady capsule line, then move into Distractor and Destroyer once your science and module production can support them. If you follow that order, your armor upgrades and combat robots will reinforce each other instead of competing for the same unfinished factory.