Early-Midgame Military Gear Guide
If biters are starting to pressure your walls, your personal gear, or your ability to expand safely, this is the point where military tech stops being optional. The good news is that early defense in Factorio is simple once you know what to unlock first, what to craft by hand, and what to place around your base. Start with the right research, carry the right weapons, then build defenses you can maintain instead of constantly babysitting. That sequence will keep you alive, hold territory, and let you push nests when you need to.
Unlock the military basics in the right order
Your first priority is getting 

After that, push 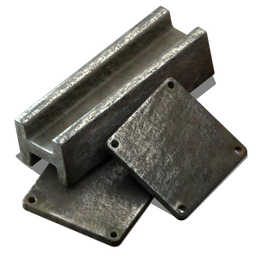


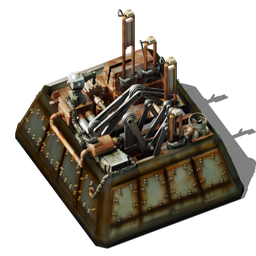
A clean research order is simple: get Automation science pack running, then Military and Gun turret, then Repair pack, and then Steel processing into Heavy armor. Do not drift into expansion research first if biters are already waking up near your base. Fix the pressure before you widen the perimeter.
Set up the first weapons and ammo you can actually carry
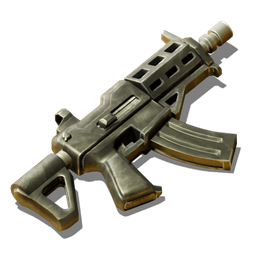
You do not need an elaborate combat loadout yet, but you do want the right two tools in your inventory. Build a 

The Shotgun fills the opposite job. Use it when you are close enough to punish nests and clustered enemies hard. In practice, you should keep both weapons on you and swap between them instead of trying to force one weapon to do everything. Use the Submachine gun against biters, then switch to the Shotgun for close-range nest damage. That is the efficient pattern, and it saves ammo while making your pushes much faster.
For ammunition, start with 

Here is a quick reference for the core military recipes and what you get from them:
| Recipe | Inputs → Outputs | Machine | Time |
|---|---|---|---|
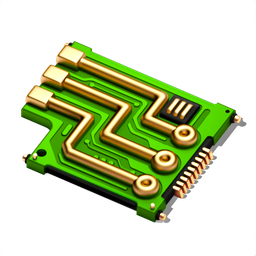
| Automation Science Pack |   |
 |
5s |
| Gun Turret |  |
|
8s |
| Heavy Armor | |
|
8s |
| Repair Pack |  |
|
0.5s |
|
 |
|
10s |
| Shotgun Shell | |
|
3s |
| Piercing Shotgun Shell | |
|
8s |
| Submachine Gun | |
|
10s |
Craft the armor and repair tools that keep you alive
As soon as
It also provides excellent protection against accidental self-inflicted damage from grenades, which is easy to forget until a fight goes wrong. If you are using explosives around your own walls or nests, Heavy armor gives you a much safer margin for error. Get it before you start doing aggressive frontline work.
At the same time, craft
Build a turret line you can maintain instead of constantly babysitting
Your first real wall defense should be a small turret line covering the most likely attack paths, not a huge perimeter that you cannot support. Build
The reason Gun turret is so important is that it is a stationary gun turret entity that provides automated ground defense against hostile units. It also stacks up to 50 per inventory slot, which means you can carry a useful reserve while expanding, repairing, or setting up a new outpost. That makes turrets one of the most convenient emergency defenses in the game: if a new front opens, you can move fast and fortify it without hauling a full logistics chain.
If you want nearby storage at the front, use 
Scale safely as copper and steel demand starts to bite
The main trap in early military planning is treating defense as separate from the rest of the factory. It is not separate; it competes for the same 

The practical rule is this: if defense is slowing down, do not only add more combat items — increase plate production. More iron and copper upstream will solve more military problems than another rushed line of turrets. Once your plates are flowing, you can keep the defensive kit stocked, upgrade to Heavy armor, and push outward with much less risk.
Pages featured in this guide
- itemAutomation science pack
- technologyAutomation
- achievementSteam power
- technologyElectronics
- technologyMilitary
- buildingGun turret
- technologySteel processing
- itemSteel plate
- itemHeavy armor
- itemRepair pack
- itemSubmachine gun
- itemShotgun
- itemShotgun shells
- itemPiercing shotgun shells
- recipeAutomation Science Pack
- itemCopper plate